A Complete Guide to Proper Placement for Safer, Smarter Snow Removal
If you live or work in an area where winter storms can dump inches (or feet) of snow overnight, plow stakes—also known as snow stakes or driveway markers—are your best friends. These tall, bright markers help plow drivers see boundaries and hazards, even in low visibility or during white-out conditions. But while most people know they need plow stakes, they often underestimate the importance of where to place them and how many they should use.
In this guide, we’ll cover the key locations and obstacles that plow stakes should mark, along with practical tips on quantity and spacing. Whether you’re a homeowner protecting your landscaping or a property manager maintaining a large lot, the right staking plan can save you money, prevent damage, and keep snow removal running smoothly all winter long.
Why Plow Stakes Matter
Snow-covered surfaces hide almost everything—curbs, landscaping, drains, hydrants, even the edges of the pavement itself. A well-placed plow stake:
-
Prevents property damage – Avoids tearing up lawns, cracking curbs, or smashing landscape features.
-
Speeds up plowing – Operators can work faster when they know exactly where boundaries are.
-
Keeps everyone safe – Clearly marking obstacles reduces the risk of equipment damage or accidents.
Where to Install Plow Stakes
When deciding on placement, think of three categories: boundaries, hazards, and navigation points.
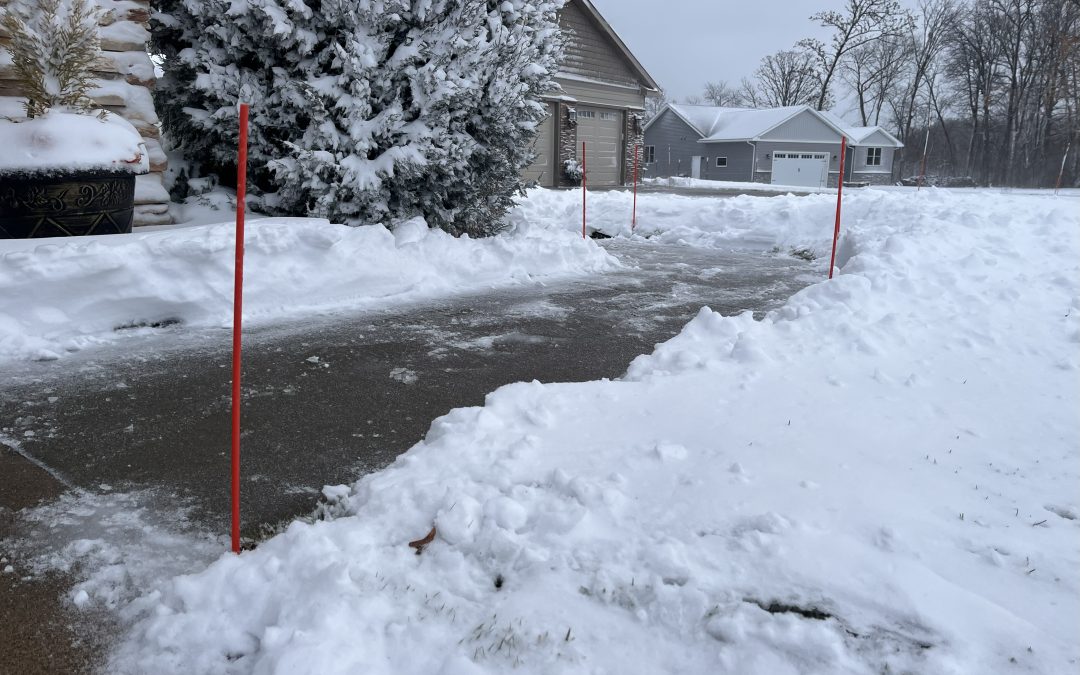
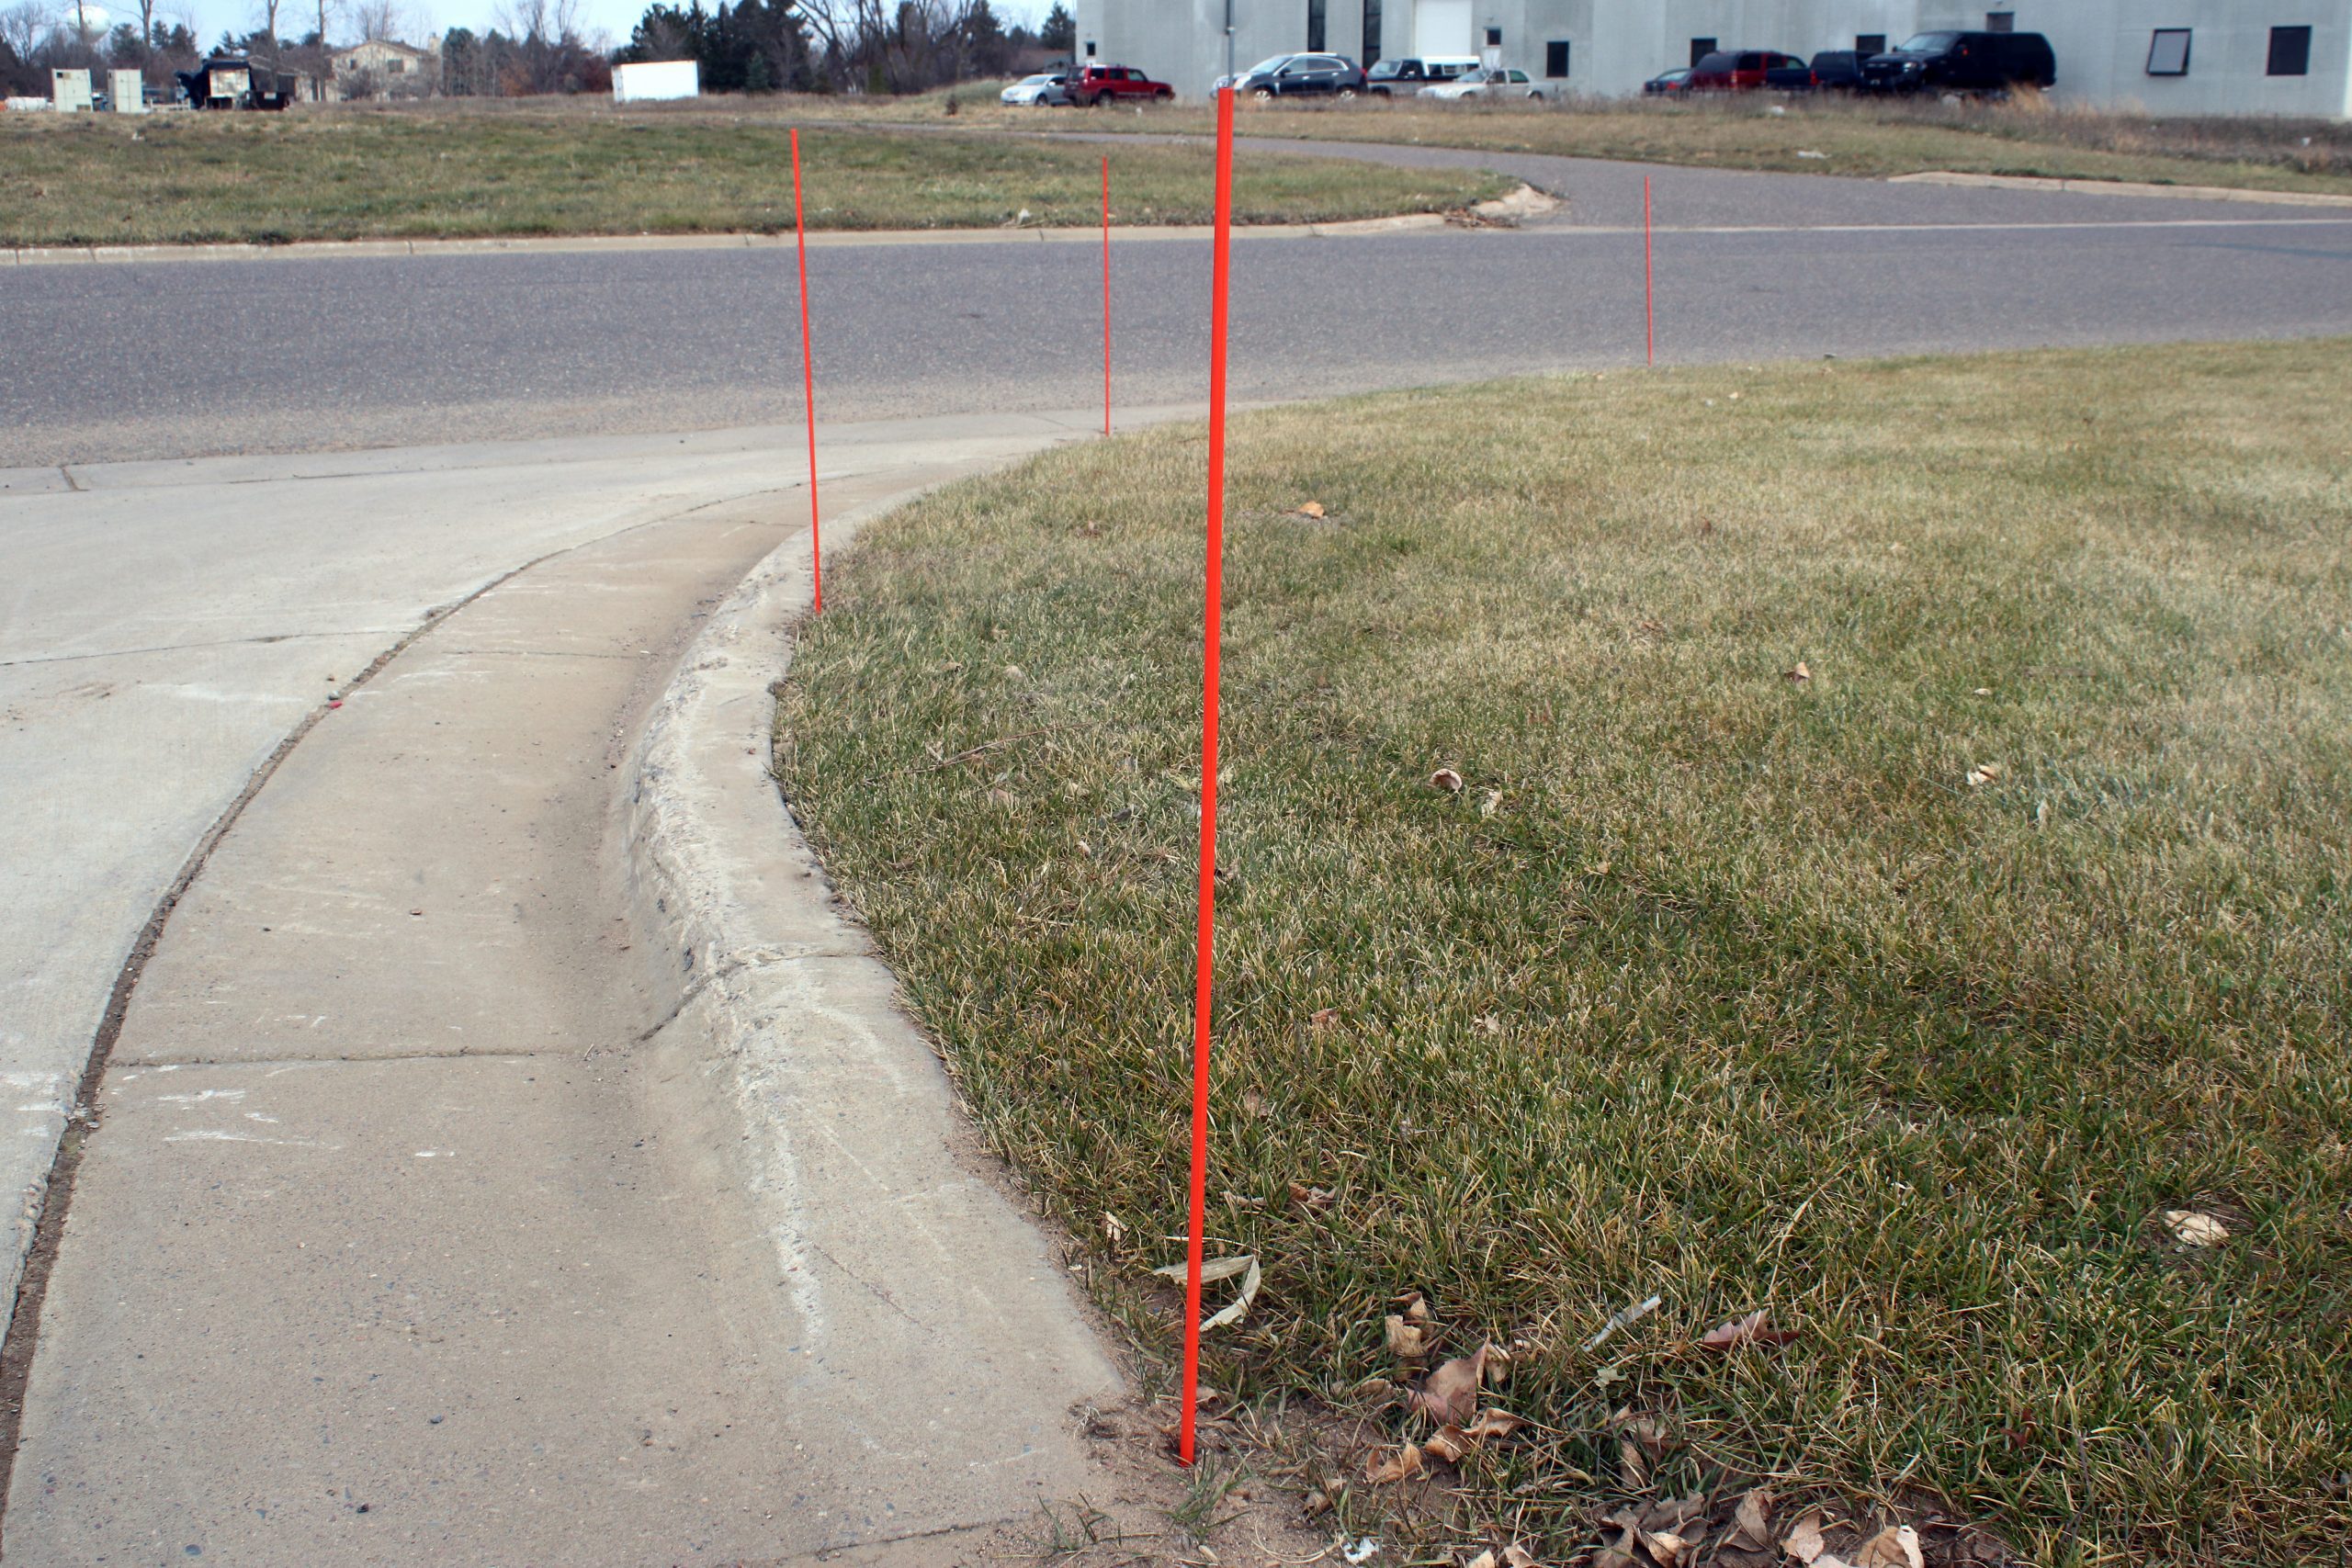
1. Boundaries of Driveways and Parking Areas
The first priority is defining the outer edges of the surfaces you want cleared.
-
Residential driveways – Place stakes along both sides, especially where pavement meets lawn or landscaping. Start at the road edge and continue to the garage or parking pad.
-
Commercial lots – Stake the perimeter, especially near grass medians, landscaped islands, and property lines shared with neighbors.
-
Long rural lanes – Stake both edges every 20–30 feet to keep the plow from drifting into ditches or soft shoulders.
Tip: Use taller stakes (48–60 inches) in high-snow areas so they remain visible all season.
2. Obstacles and Hazards
These are the “hidden dangers” that can bend steel, break hydraulics, or rack up repair bills if a plow blade hits them.
-
Mailbox posts – Stake on both sides, 1–2 feet out from the post to give clearance.
-
Fire hydrants – Mark on both street-facing sides so plows avoid hitting them or piling snow against them.
-
Retaining walls – Place stakes along the wall line to prevent accidental contact.
-
Raised drain grates or manholes – Snow can hide them; stakes keep the plow from catching an edge.
-
Low fences – Especially chain link or decorative borders that might be buried by snow.
-
Utility boxes / transformers – Protect above-ground utility structures by staking a safe radius around them.
-
Stone pillars or brick columns – A single strike can cause thousands in damage; stake generously around these features.
3. Navigation Points and Change in Direction
Plow operators—especially those not familiar with your property—need visual cues for turning points and lane shifts.
-
Driveway entrances – Two stakes, one on each side of the entry.
-
Corners – Stake both inside and outside corners for clarity.
-
Curve transitions – Place stakes where a lane or drive curves sharply.
-
Parking lot lanes – In large commercial areas, stakes can help operators avoid landscaped islands.
How Many Plow Stakes Should You Use?
The number depends on your property size, complexity, and local snow conditions.
General Spacing Guidelines:
-
Straight runs: Place stakes every 20–30 feet.
-
Curves: Reduce spacing to 10–15 feet for better visibility.
-
High-snow areas: Use closer spacing—10–15 feet—to account for reduced stake visibility in heavy accumulation.
Example Estimates:
-
Single residential driveway (2–3 car wide): 8–12 stakes.
-
Long rural driveway (200–300 feet): 16–20 stakes.
-
Small commercial lot (¼ acre): 20–30 stakes.
-
Large commercial lot (1+ acre): 50–100 stakes, depending on obstacle count.
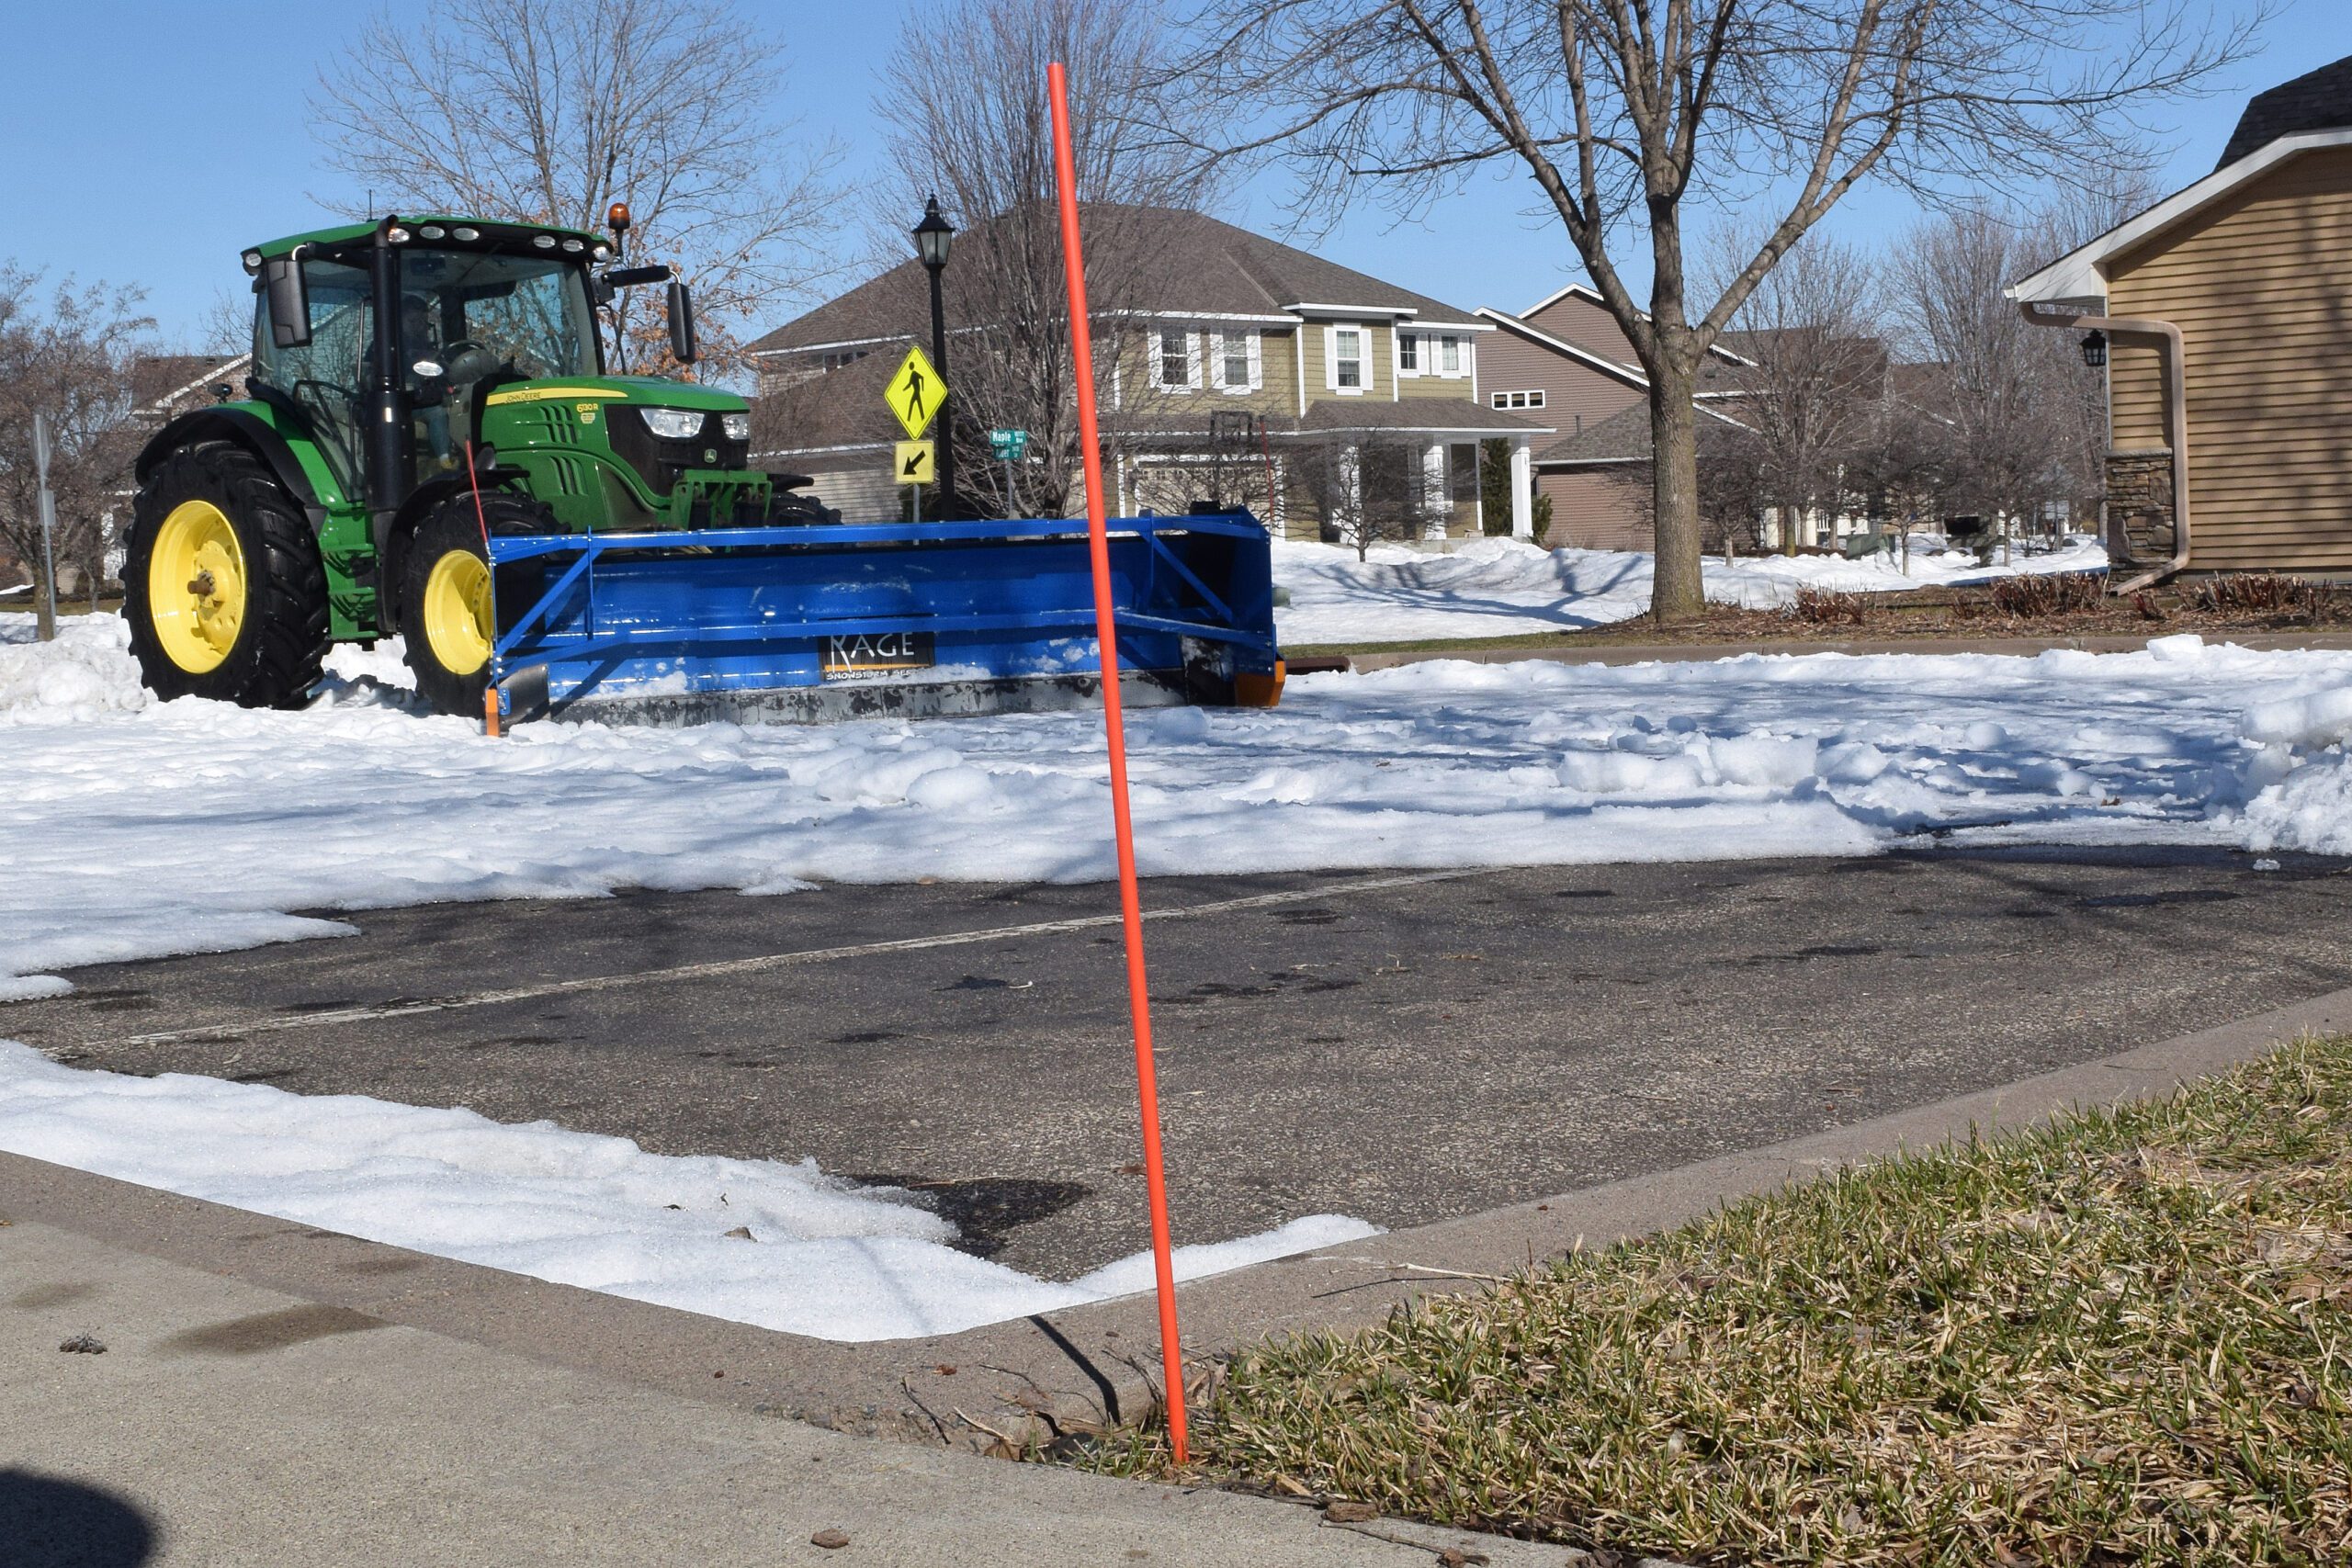
Pro Tips for Effective Plow Stake Placement
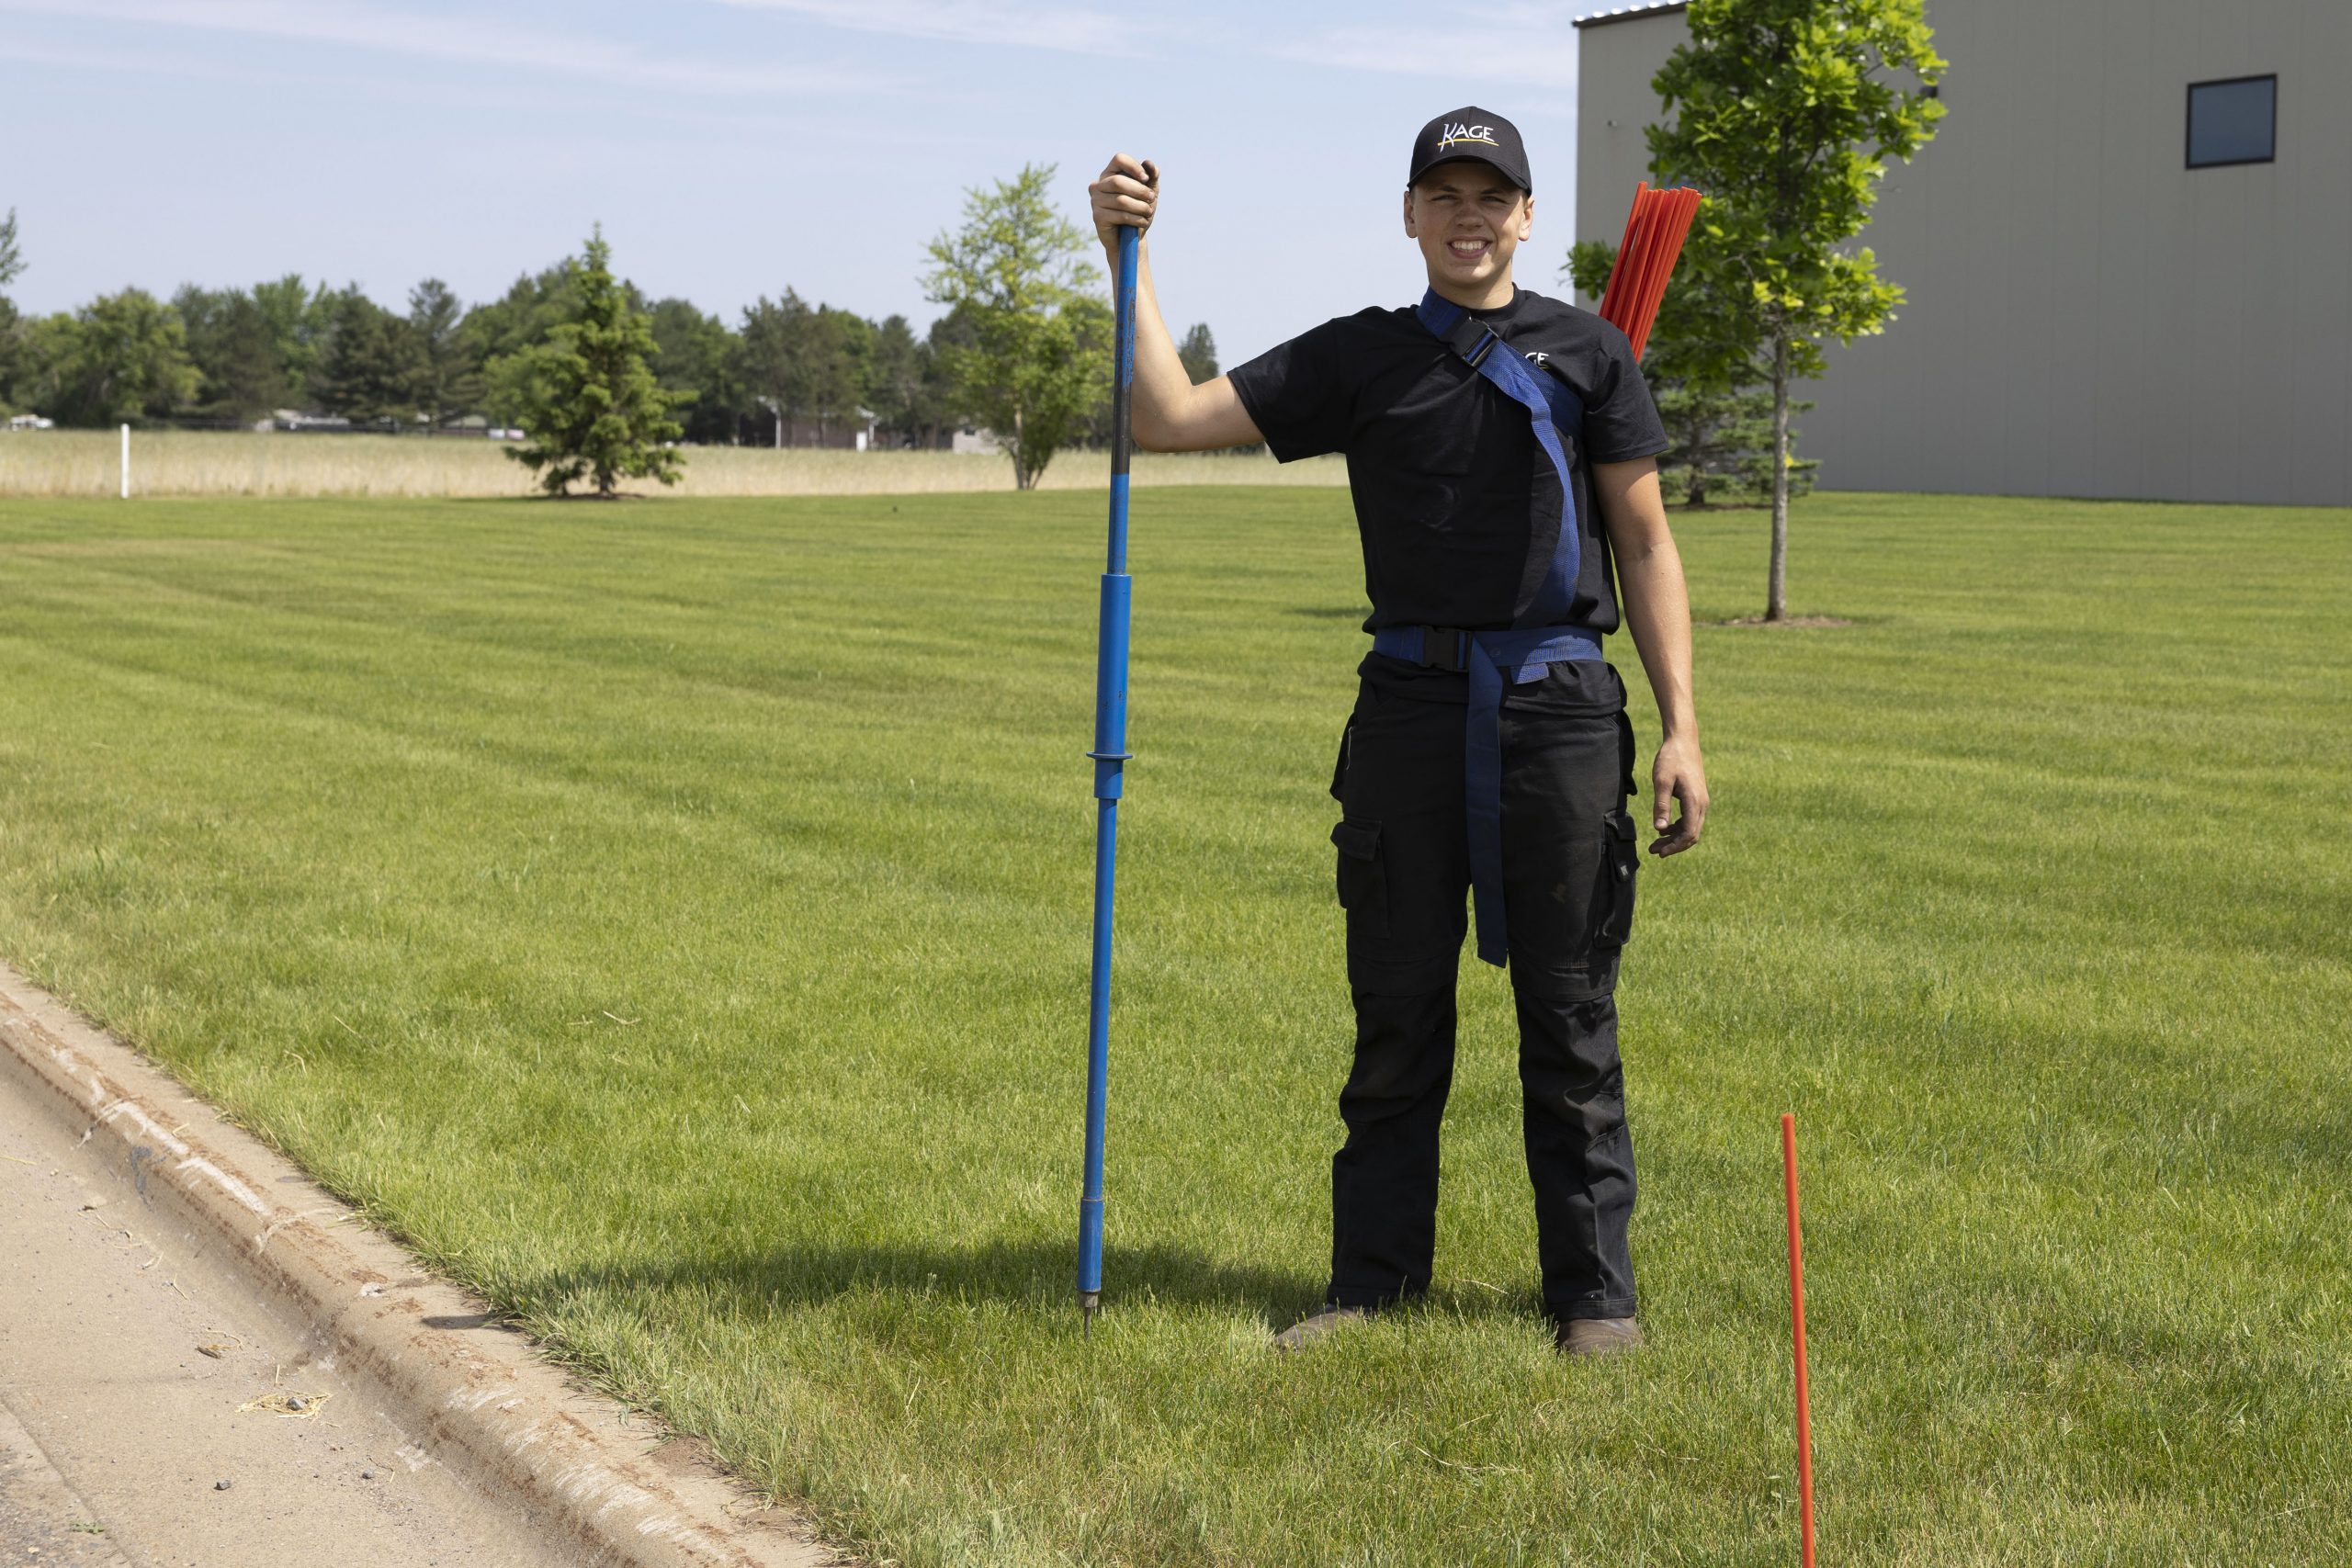
-
Install before the ground freezes – Or use a tool like the KAGE Snow Stake Pounder, which allows you to drive stakes into a variety of surfaces—even frozen ground—without bending or breaking them.
-
Alternate stake colors – Bright orange is most common and recommended, but alternating with reflective stripes or other colors can help in low-light or stormy conditions.
-
Mark both sides of a hazard – Don’t just put a stake in front; place one beyond it as well so operators know where it ends.
-
Use reflective tape or high-visibility caps – These improve visibility for night plowing.
-
Check stakes mid-season – Snow, wind, and curious wildlife can shift or knock them over.
Visualizing Placement: A Quick Checklist
Before staking, walk your property and note:
-
All edges where pavement meets lawn or drop-offs.
-
Any obstacles that rise above or below grade.
-
Any areas where an unfamiliar driver might turn too wide or too early.
You can even map your staking locations on paper or digitally so you (or a contractor) can reinstall them year after year.
The Bottom Line
Plow stakes are your first line of defense against winter-related property damage and plowing inefficiency. Placing them along boundaries, around hazards, and at key navigation points ensures that snow removal crews can work quickly, accurately, and safely.
When in doubt, err on the side of using more stakes rather than fewer—especially in areas where visibility drops quickly during storms. With a well-thought-out staking plan, you’ll protect your investment, speed up snow removal, and make winter a lot less stressful.
And remember: tools like the KAGE Snow Stake Pounder make installation easier, even in challenging ground conditions, so there’s no excuse to skip this small but mighty step in your winter prep.
Recent Comments