
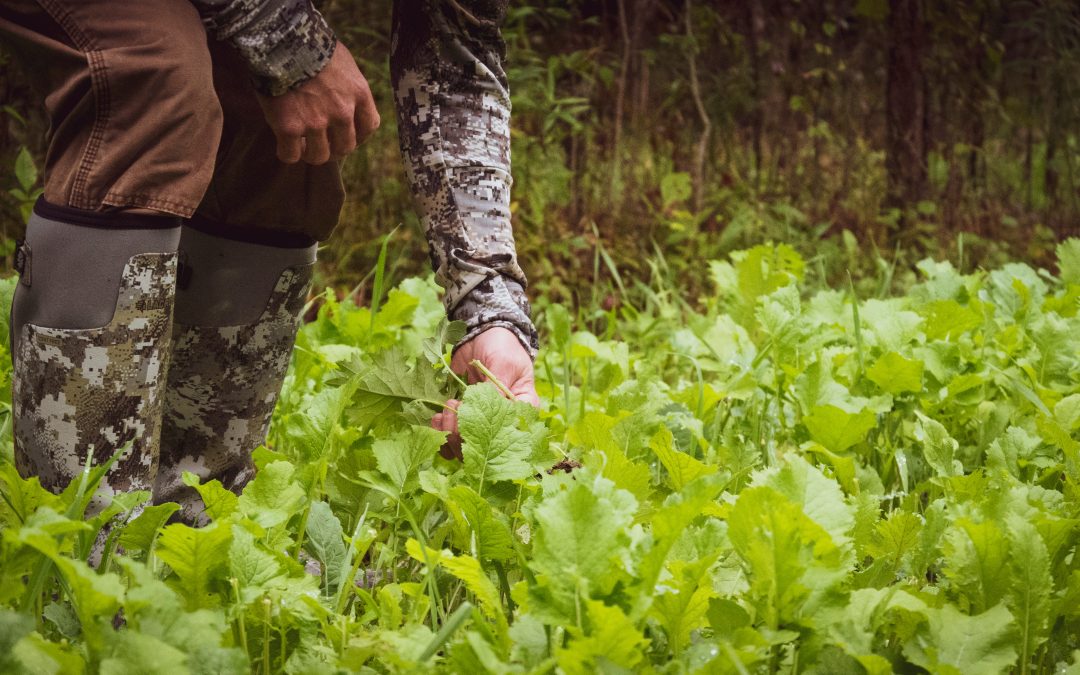
Whether you’re establishing a new food plot, renovating a pasture, or reclaiming a rough piece of ground for planting, good results start before the seed ever hits the soil.
Ruts, compacted areas, high spots, washouts, rocks, and uneven ground can make planting more difficult and leave you with inconsistent seed placement. Getting that surface into shape can improve the planting process and make the ground easier to manage long after the crop or forage is established.
That’s where the KAGE GreatER Bar can earn its place in the preparation process.
Designed to scarify, redistribute, level, and contour material, the GreatER Bar gives skid steer and compact track loader operators a practical way to take rough ground and work it toward a smoother, more uniform planting surface.
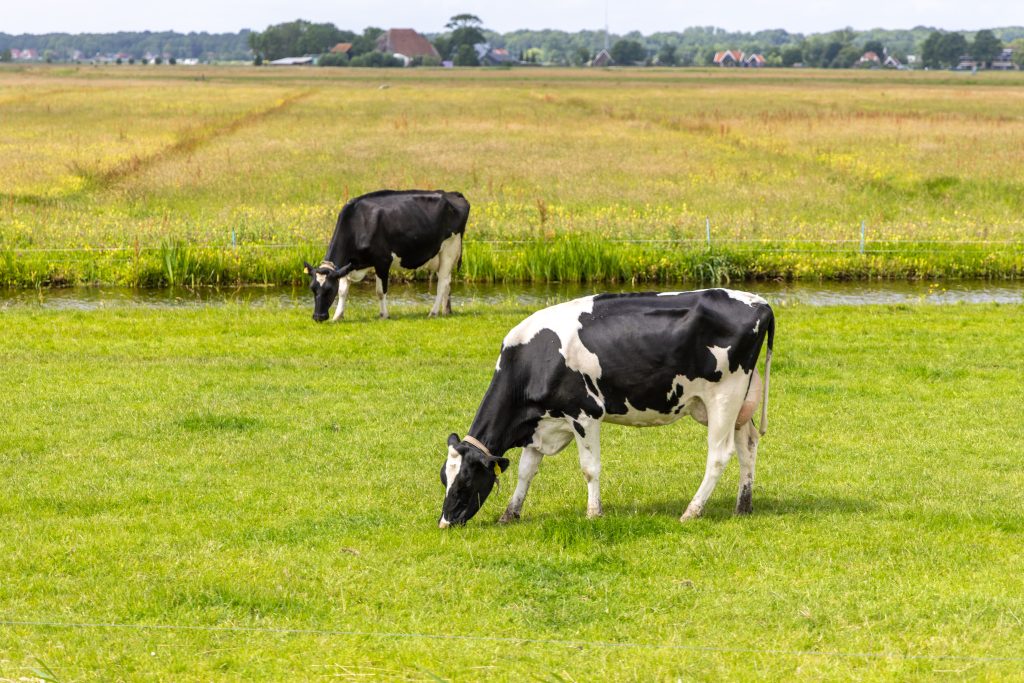
Start with the Ground, Not the Seed
It’s tempting to look at an open field and immediately start thinking about seed, fertilizer, and planting equipment. But first, take a look at the condition of the ground.
A field that’s been driven over, grazed heavily, recently cleared, or simply neglected for years may have compacted areas and an uneven surface. Water movement can create additional problems, leaving high areas dry while depressions stay wet.
Before grading, walk or drive the area and identify:
- Major high and low spots
- Ruts and washouts
- Compacted areas
- Rocks, roots, stumps, and other debris
- Existing drainage patterns
- Areas where standing water may become a problem
Remove larger debris before beginning your finish work. Trying to grade around buried rocks, roots, or other obstacles usually makes the job harder and can leave problems that reappear later.
Don’t Work Saturated Soil
Timing matters.
Trying to work ground that’s too wet can turn a straightforward grading job into a mess. Saturated soil can smear, rut, and compact under equipment, potentially creating more work instead of less.
Wait until the soil is workable enough to break apart and redistribute without sticking excessively to the attachment or immediately packing beneath the machine. This is particularly important in heavier clay soils.
The objective isn’t to pulverize the field. It’s to create workable soil and a consistent surface that can be prepared for planting.
Step 1: Break Up Compacted and Crusted Ground
If you’re dealing with hard ground, begin by loosening it.
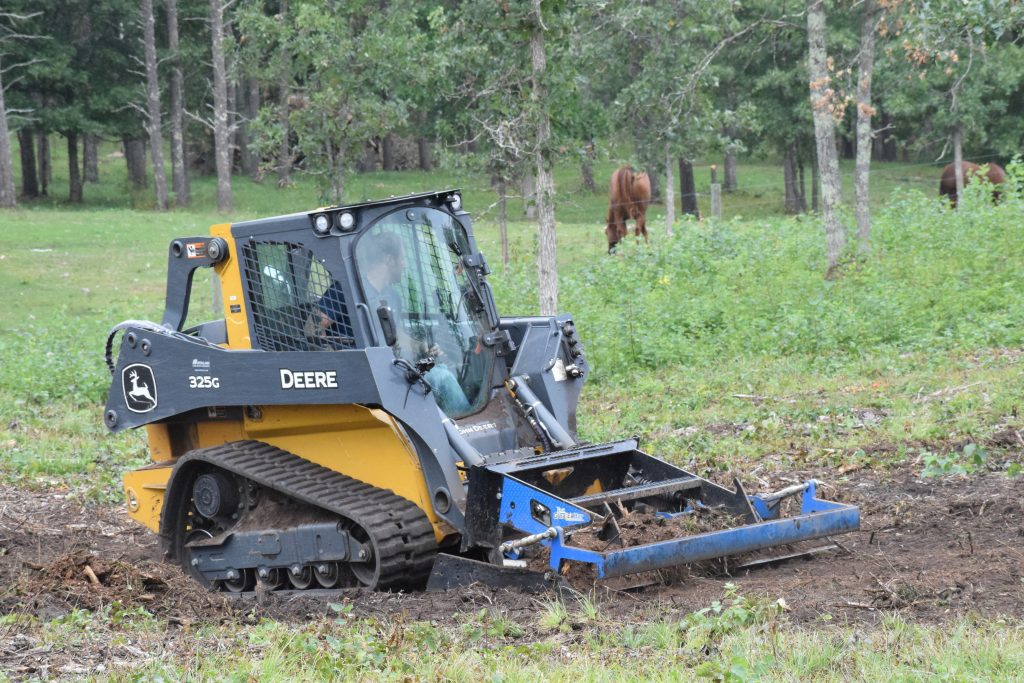
The Quick Rip Bar on the GreatER Bar uses scarifier teeth to break into compacted material. The system can be mechanically deployed or stowed from the operator’s cab without hydraulic connections, allowing the operator to transition between loosening soil and grading it without changing attachments.
Rather than trying to accomplish everything in one aggressive pass, make controlled passes across the area.
Focus first on the places that need the most correction. Extremely compacted travel lanes, heavily rutted sections, or hard-packed portions of a pasture may require more attention than areas that are already reasonably loose.
The goal is simple:
Loosen what needs loosening before trying to make it smooth.
Step 2: Knock Down the High Spots
Once the surface is workable, start establishing the rough grade.
This is where a land plane becomes especially useful.
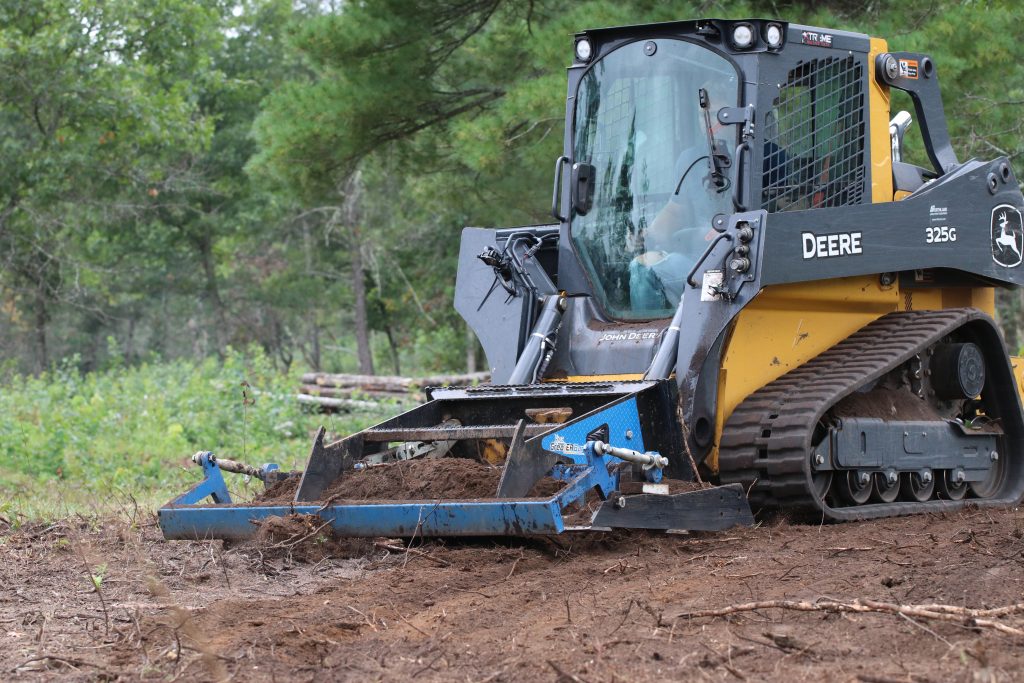
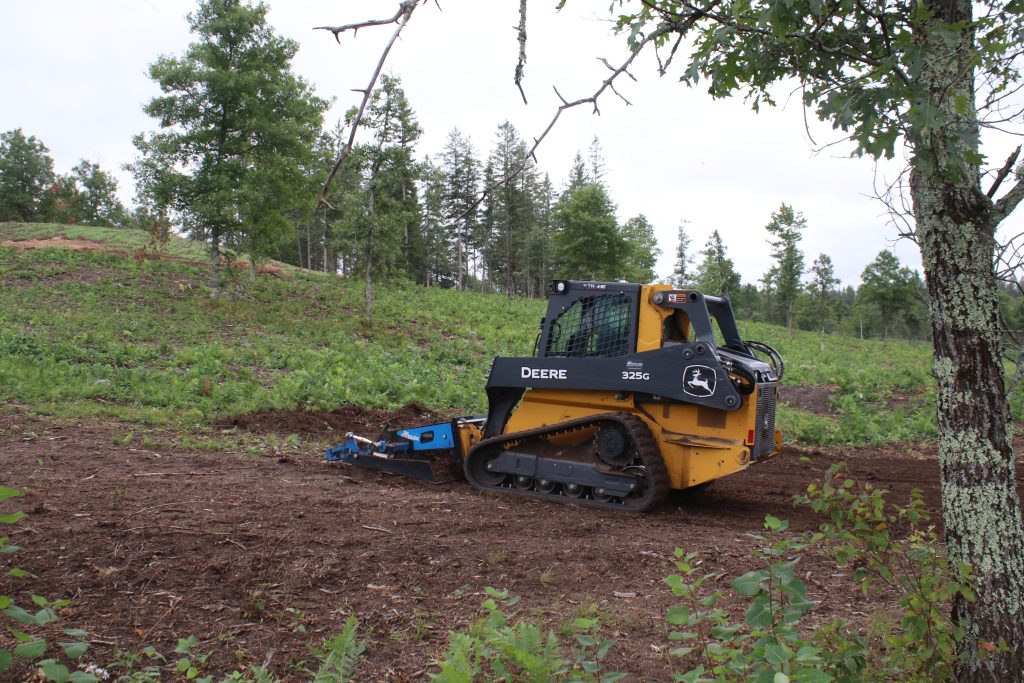
The GreatER Bar is designed to cut high areas, redistribute loose material, fill small depressions, and contour the ground.
Instead of simply pushing dirt from one location to another with a bucket, you’re working material across the surface. As the attachment travels over the field, material from high areas can be carried into lower areas.
On particularly rough ground, don’t expect the first pass to be the final pass.
Think of the first few passes as correction passes.
You’re gradually removing the biggest irregularities and creating a more consistent plane across the field.
Step 3: Work the Field from More Than One Direction
For rough food plots and pasture renovation, changing direction can make a major difference.
After making your initial passes in one direction, work across the field from another angle where conditions allow. Crossing previous passes helps address ridges, depressions, and irregularities that may not be corrected when repeatedly traveling the same direction.
The rougher the starting surface, the more valuable these corrective passes can be.
As the field improves, reduce how aggressively you’re working the soil.
You’re moving from rough grading toward finish grading.
Step 4: Fill Low Areas Instead of Following Them
One of the easiest mistakes when grading rough terrain is simply following the existing surface.
If the machine drops into every depression and climbs every hump, the attachment can reproduce some of the same contours you’re trying to eliminate.
Instead, allow the GreatER Bar to redistribute loose material from the higher portions of the field into shallow depressions.
For larger holes, washouts, or significant elevation changes, additional fill may be necessary. A land plane is excellent for redistributing and finishing material, but it doesn’t eliminate the need to bring in material when the existing soil volume isn’t sufficient.
The same principle applies to major drainage work. Establish the desired contours first, then use the GreatER Bar to blend and smooth those transitions.
Step 5: Pay Attention to Drainage
A food plot doesn’t need to look like a lawn, but water still needs somewhere to go.
Eliminating every visible depression without considering drainage can create new problems. Your objective should be a smoother field with intentional contours—not necessarily a perfectly flat field.
Maintain natural drainage where appropriate and correct areas that trap water unnecessarily.
The GreatER Bar can be used for contouring and forming swales in addition to general grading, giving operators the ability to shape the surface rather than simply flatten it.
That’s especially valuable when preparing larger plots or pasture areas where runoff and erosion need to be considered.
Step 6: Transition from Aggressive Grading to Light Finishing Passes
As the field becomes smoother, change your approach.
Early passes may be about moving material and correcting significant imperfections. Your final passes should be about refinement.
Make lighter grading passes to:
- Remove smaller ridges
- Blend previous passes
- Fill shallow depressions
- Smooth tire or track marks
- Create a more uniform planting surface
The GreatER Bar’s replaceable cutting edges can be used to form and smooth the grade as the operator progresses toward the finished surface.
Don’t chase perfection unnecessarily. For most agricultural planting, the objective isn’t a golf-course finish.
You want smooth, consistent, workable ground.
Step 7: Leave Some Texture in the Seedbed
Smooth doesn’t have to mean polished.
An excessively loose or powdery seedbed can settle unevenly after rain, while a hard, slick surface isn’t ideal for seed establishment either.
Aim for a reasonably firm surface with enough texture to support the planting method you’re using. Good finish grading should leave the field smooth without unnecessarily recompacting the soil you just worked to loosen.
From there, the final seedbed requirements depend on what you’re planting and how you’re planting it.
A no-till drill, broadcast seeding operation, conventional drill, cultipacker, or other planting system may each call for a slightly different final condition.
Food Plot Preparation: Think Beyond the First Planting
Hunters often focus on germination when establishing a food plot, but there’s another reason to put extra effort into grading:
You’re creating a field you’ll probably work again.
A smoother plot can make future operations easier, whether you’re mowing, spraying, fertilizing, overseeding, drilling, or renovating the stand.
Anyone who has bounced a tractor, ATV, UTV, mower, or sprayer across an unnecessarily rough field knows the value of correcting those problems before the crop is established.
Doing the grading work now can pay off for years.
Pasture Renovation: Smooth Doesn’t Mean Flat
The same approach works when renovating pasture.
Pastures often develop rough surfaces from livestock traffic, erosion, freeze-thaw cycles, equipment traffic, previous tillage, or years of use.
The objective isn’t necessarily to completely reconstruct the field.
Instead, use the GreatER Bar to address the conditions that interfere with planting and future maintenance:
Loosen compacted areas. Cut down high spots. Redistribute loose soil. Fill shallow depressions. Blend rough transitions. Preserve useful drainage. Finish with lighter passes.
That can create a much better foundation for reseeding while also producing a field that’s easier to mow and maintain once the new forage is established.
A Simple GreatER Bar Food Plot and Pasture Workflow
For many projects, the process can be boiled down to this:
1. Inspect — Identify drainage issues, major ruts, high spots, low areas, rocks, roots, and debris.
2. Clear — Remove obstacles that shouldn’t be incorporated into the seedbed.
3. Rip — Use the Quick Rip Bar where compacted ground needs to be loosened.
4. Rough Grade — Cut high areas and begin redistributing material into low areas.
5. Cross Grade — Change travel direction to continue knocking down irregularities.
6. Contour — Preserve or establish the drainage pattern you want.
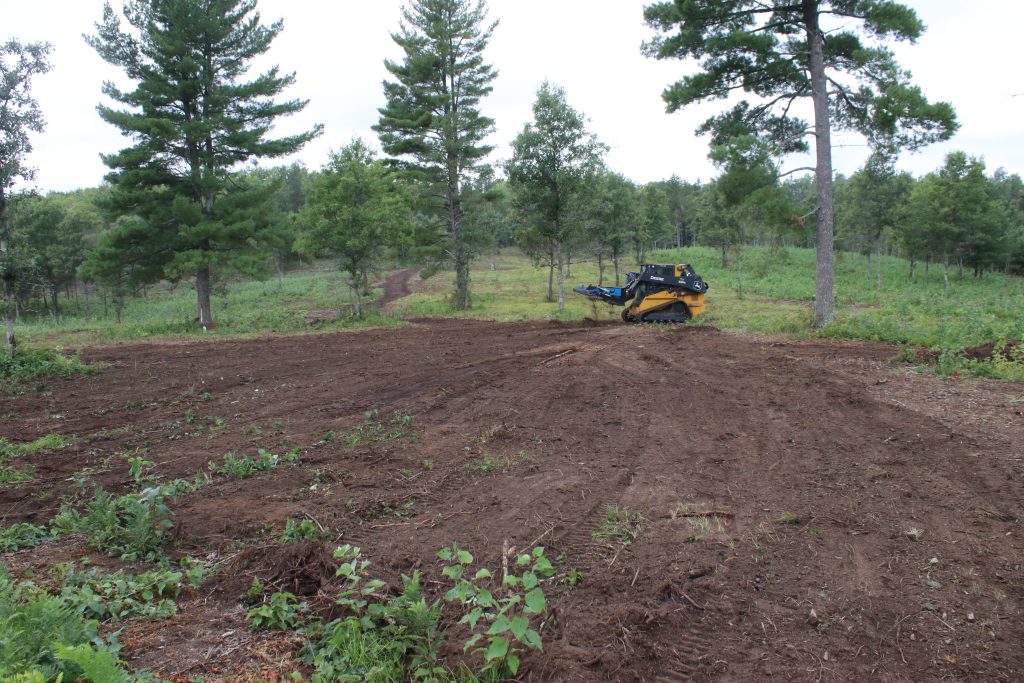
7. Finish Grade — Make progressively lighter passes until the surface is consistent.
8. Plant — Complete any additional seedbed preparation required for your crop, forage species, and planting method.
Turn Rough Ground into Plantable Ground
Preparing a food plot or pasture isn’t simply about making dirt look smooth.
You’re building the foundation for everything that follows.
Seed placement, water movement, future mowing, spraying, fertilizing, and equipment travel can all benefit from starting with a more uniform surface.
The KAGE GreatER Bar gives skid steer and compact track loader operators the ability to move through several stages of that preparation with one attachment—from scarifying compacted ground to redistributing soil and completing the finish grade. The Quick Rip system further simplifies that workflow by allowing the operator to move between ripping and grading without hydraulics or manually repositioning individual scarifier teeth.
Before you plant the seed, build a better seedbed. Turn rough ground into ready ground with the KAGE GreatER Bar.
Recent Comments